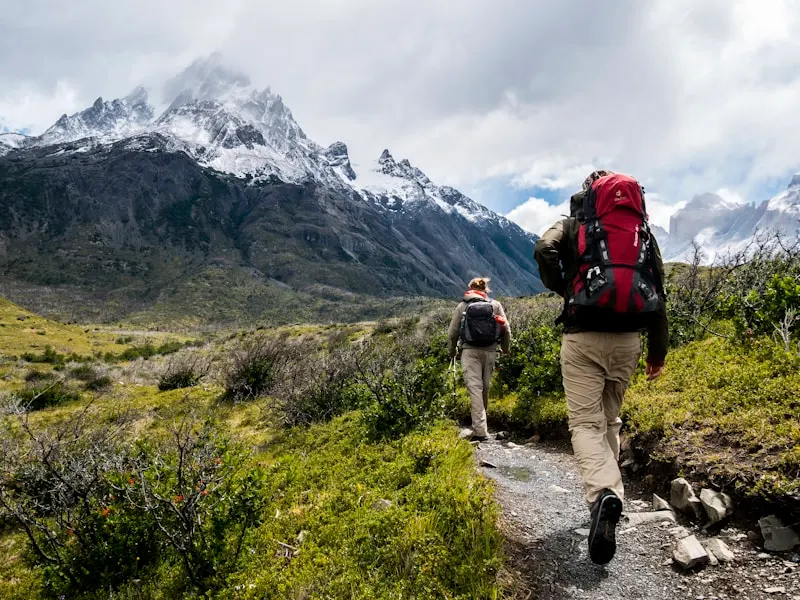
The key rules in a nutshell
- Always keep at least one carabiner clipped in — move them one at a time, never both at once,
- one person per cable section between two anchors,
- the resting lanyard is for resting only, it does not protect you,
- helmet on from the first rung to the last,
- watch the weather and do not be afraid to turn back.
1. Clipping one carabiner at a time, rule number one
A ferrata lanyard has two arms ending in carabiners. You keep both clipped into the steel safety cable, and they are what protects you along the entire route. The most important rule is: at least one carabiner must be clipped into the cable at all times.
Things get tricky at the anchors, the points where the cable is fixed to the rock. To pass such a point, you have to move your carabiners to the other side. You do it one at a time, never both at once: first you move one carabiner past the anchor, make sure its gate has snapped shut and locked, and only then move the second one. That way you stay clipped in with at least one arm the whole time.
It sounds trivial, but the anchors are exactly where most mistakes happen, because people want to “save a move” and unclip both carabiners at once. That one second without protection is precisely the moment when a slip ends in a fall. Build this habit on easy terrain before you move on to harder ground.
2. One person per cable section
There should be only one person on the section of cable between two anchors. The reason is simple: the steel cable is rigid and does not absorb a fall. If the person above falls, they will slide down along the cable to the nearest anchor and on the way they can knock off whoever is lower on the same section.
So keep your distance. Wait until the person ahead passes the next anchor and moves onto the following section, and only then set off after them. On narrow passages, ladders and bridges this rule matters most of all — there is no room to pass each other there.
3. The resting lanyard is not for protection
The short resting lanyard (with a single carabiner) looks similar to the arms of the safety lanyard, but it plays a completely different role. You clip it into a rung or step only to rest on a steep section without hanging off your arms.
The resting lanyard has no energy absorber. That means you must never climb on it or fall onto it — under a sudden load it will not absorb the energy of a fall the way the safety lanyard does. Treat it purely as a “seat” for a moment's rest: you clip in while standing in a stable position, keeping both carabiners of your safety lanyard on the cable at all times. You can read more about what makes up a complete set in our post on what a via ferrata set should include.
4. Move calmly and stay below your carabiners
A ferrata is not about speed. Place your feet firmly on the rungs and steps, and use your hands mainly on the rock and the rungs — the safety cable is protection, not a handle for hauling your full weight up. Move smoothly and look ahead to plan where your next step will go.
Try to keep the lanyard carabiners above your hips, not down by your feet. The higher the clipping point relative to your body, the shorter and gentler any fall will be. Also avoid climbing far above your carabiners without need, because if you slip then, you fall further before the lanyard stops you.
5. Helmet, weather and common sense
- Put your helmet on at the first rungs and take it off only after leaving the route. The biggest everyday hazard on a ferrata is falling rocks, and they can come from sections you cannot even see.
- Check the weather before setting out. The steel cable and rungs are an excellent conductor, which is why you must never be on a via ferrata during a thunderstorm. Wet rock is also far more slippery.
- Do not be afraid to turn back. If the route turns out to be too hard, it gets crowded or the weather breaks, turning around is a smart decision, not a shameful one. The summit will still be there another day.
- Assess the route and yourself honestly. Check the ferrata's difficulty on the A–F scale (we describe it below) and start with routes that are within your reach — one level below what you think you can handle.
- Think about insurance. Most via ferratas are abroad — in Slovakia, Austria or Italy — and there you pay for a rescue operation and helicopter out of your own pocket. Before you travel, check that your travel policy covers via ferratas and mountain rescue costs. You can compare offers e.g. on Rankomat (affiliate link – advertisement, site in Polish).
6. The via ferrata difficulty scale (A–F)
Via ferrata difficulty is described with letters, most often according to the Schall scale (you will find it in guidebooks and on boards at route entrances). The letter refers to the technical difficulty of the hardest spot on the route, not its length or exposure — a long, easy ferrata can be tiring too. Treat the list below as a reference point; the grades are sometimes interpreted slightly differently from area to area.
- A — easy. Gently inclined terrain, plenty of natural steps and ledges, little exposure. Your hands mostly keep your balance rather than carry your weight. Good for a first time and for children.
- B — moderately difficult. Steeper, rocky sections where you already need to use your hands deliberately and look for holds. Exposure appears. Still within reach of a beginner with basic fitness.
- C — difficult. Steep, in places vertical walls, longer exposed stretches, fewer steps. Requires a certain amount of arm strength and good fitness. This is the point at which a route becomes demanding for occasional hikers.
- D — very difficult. Vertical, sometimes slightly overhanging sections, big exposure, sparse steps. You need real strength, experience and a good head for heights. Not for beginners.
- E — extremely difficult. Overhangs, minimal footholds, constant exposure and long, sustained effort on the arms. Only for practised, strong and well-prepared climbers.
- F (in some guidebooks G) — extreme. Rarely encountered, at the limit of what is possible: heavily overhanging terrain and extreme strength requirements. For a narrow circle of the most experienced.
Descriptions of exposure and route length are sometimes added to the grade, so two “C” ferratas can differ a lot in character. If you are starting out, choose A and B, and reach for difficulty C only once clipping carabiners and moving above exposure feel completely natural to you.
Before you set off
These rules become second nature after your first calmly completed ferrata. The key is to wear complete, fully functional gear and put it on properly — the best habits are worth nothing if your lanyard is a random one or your harness is badly fitted.
At our via ferrata rental in Wrocław we hand out sets that are inspected regularly: an energy-absorbing safety lanyard, a resting lanyard, an adjustable harness and a helmet. You can pick a set up in person or order it with InPost delivery and return across Poland for 45 zł — including to Warsaw and Kraków.
Check availability for your dates: you will see the price right away in the booking form, with no phone calls and no waiting for a quote.
Book a set onlineFrequently asked questions
Can you unclip both carabiners at once when passing an anchor?
No. At least one carabiner must be clipped into the cable at all times. At an anchor you first move one carabiner past the attachment point, and only then the second one. Unclipping both at once means a moment with no protection at all.
Will the resting lanyard stop me if I fall?
No. The resting lanyard has no energy absorber and is for resting only. You must never climb on it or fall onto it. For protection you always use the two arms of the energy-absorbing lanyard clipped into the safety cable.
How many people can be on one cable section between anchors?
Only one. The rigid steel cable transfers a fall by the person above onto the person below, so keep your distance and wait until the person ahead passes the next anchor.
What do the letters A–F next to a via ferrata mean?
It is the scale of technical difficulty: A means an easy route, B moderate, C difficult, D very difficult, E extremely difficult and F extreme. The letter describes the hardest spot on the route, not its length or exposure. Beginners should choose A and B ferratas.
Which route should I start my via ferrata adventure on?
A short, easy ferrata graded A or B, in dry and stable weather, ideally with a more experienced companion. That way you can calmly get used to clipping carabiners before you move on to harder routes.
The Rankomat comparison link in this article is an affiliate link (advertising material). If you buy a policy through it, we receive a commission from Rankomat and you pay exactly the same price — the commission does not influence the advice either. Our partner measures impressions and clicks on that link; we only fire their tag after you accept cookies. Details are in our privacy policy (in Polish).